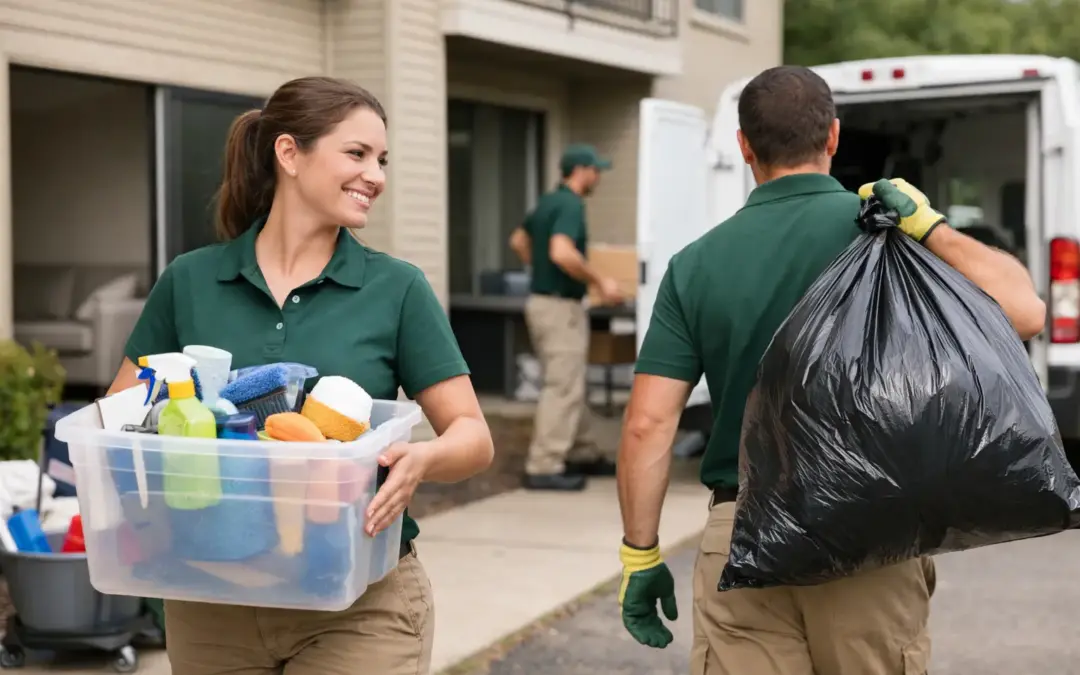
A tenant move out cleanup can get expensive fast when a few bags of trash turn into abandoned furniture, a packed garage, and an apartment that still needs to be cleaned before the keys are due. Whether you are a renter trying to protect your deposit or a landlord turning a unit for the next resident, the best approach is to handle the big stuff first, then clean what is left behind.
The goal is not to make a rental look brand new. It is to return it in good condition, remove personal belongings, and address the mess or damage that goes beyond normal wear. A clear plan saves time, keeps heavy lifting from becoming an injury, and makes the final walkthrough far less stressful.
Start Your Tenant Move Out Cleanup With the Lease
Before filling a trash bag or moving a couch, read the move-out section of the lease. Many Sacramento-area rentals have specific rules about cleaning, carpet care, key returns, wall damage, and what counts as an unauthorized item left behind. Your lease may also require a written notice, a forwarding address, or a pre-move-out inspection.
Take photos and short videos of every room before you start. Capture walls, floors, appliances, cabinets, bathrooms, closets, patios, and any existing damage. If there is a dispute about a security deposit later, dated photos give you a record of the condition of the property.
For landlords and property managers, documentation matters just as much. Photograph the unit before cleaning crews or junk haulers arrive. Keep receipts for repair work, disposal, and cleaning if deductions are necessary. Clear records help separate ordinary wear from chargeable damage.
Clear Out Belongings Before You Deep Clean
Cleaning around unwanted items wastes time. Start by removing everything that does not belong in the unit: clothes, food, boxes, decorations, old electronics, garage supplies, patio furniture, and items stored in cabinets or sheds.
Work room by room so the job stays manageable. Begin with the areas that hide the most clutter, such as closets, storage rooms, garages, laundry rooms, and backyard corners. Then move through bedrooms, living spaces, bathrooms, and the kitchen. Once an area is empty, close the door or mark it off so nobody brings items back in.
Do not assume the curb is a free disposal option. Sacramento-area pickup rules vary by neighborhood, and leaving bulky items outside can lead to complaints, fines, or a missed deadline. Mattresses, couches, broken appliances, construction debris, and large furniture often need a separate hauling plan.
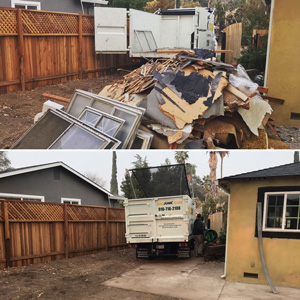
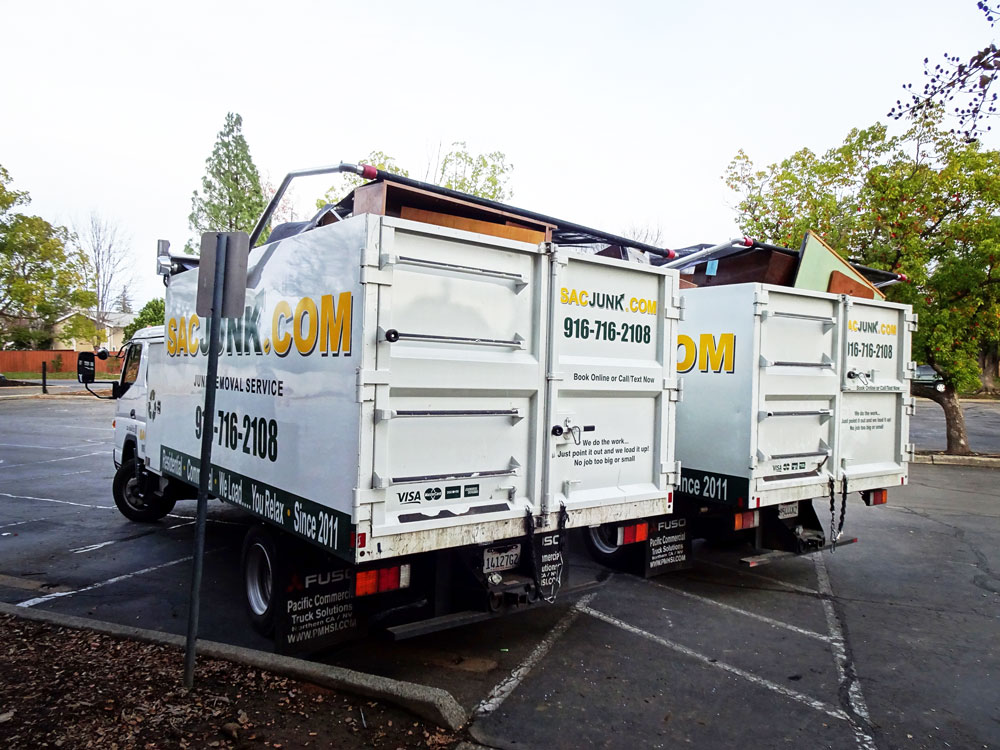
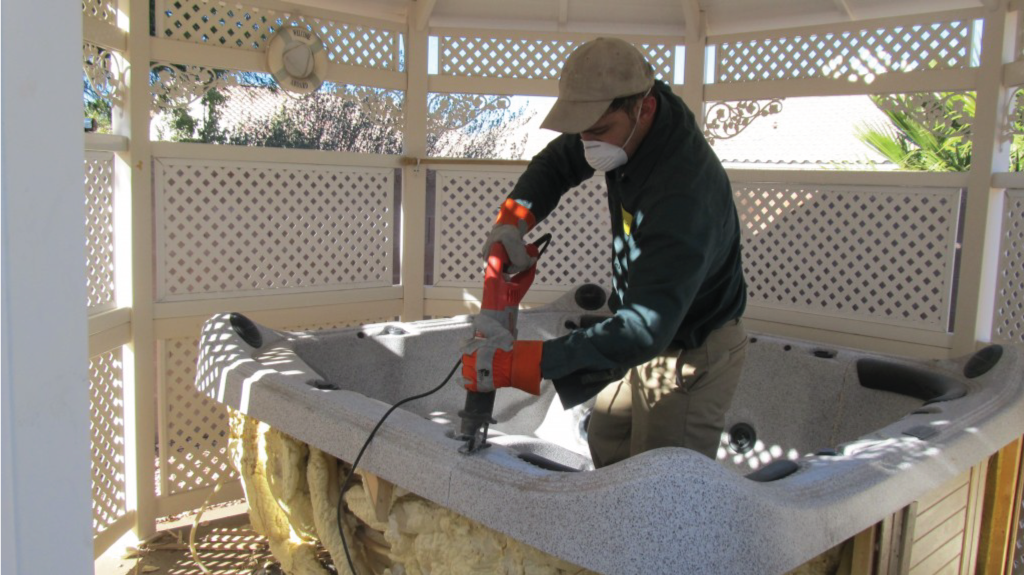
If the load is too large for your vehicle or too heavy to safely move, a full-service junk removal crew can take care of the lifting, loading, hauling, and final sweep. Sac Junk provides on-site quotes before work begins, so renters, landlords, and property managers can approve the cost before the truck is loaded.
Sort Items With a Realistic Disposal Plan
Not every item should go into the same pile. Separate usable donations from trash, recyclable materials, and items that need specialty handling. This can reduce landfill waste and may keep your cleanup more organized, but do not let sorting slow down a time-sensitive move.
Focus on the items most likely to cause problems if left behind:
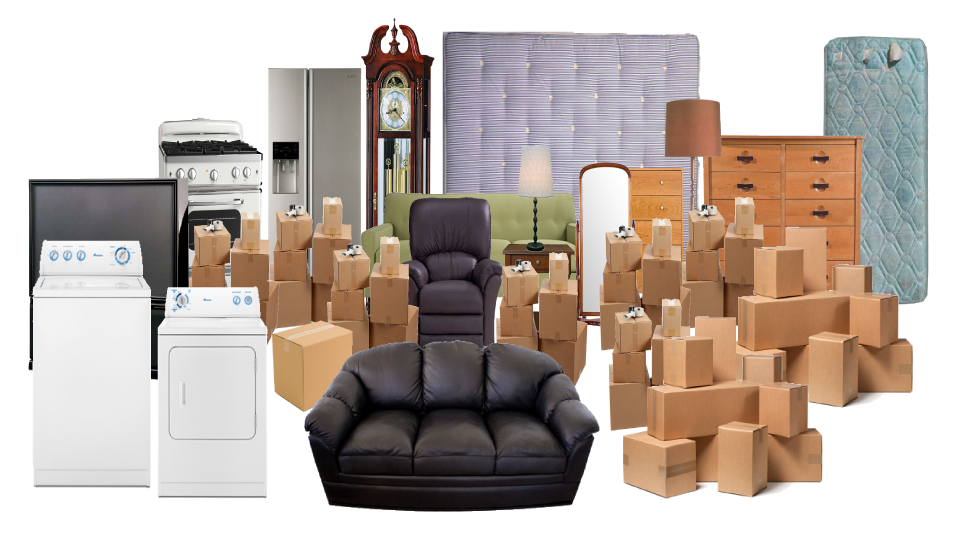
- Sofas, mattresses, bed frames, dressers, and other bulky furniture
- Refrigerators, washers, dryers, microwaves, and small appliances
- Bags of household trash, food waste, and spoiled pantry items
- Yard debris, broken patio items, and garage clutter
- Boxes of old paperwork, electronics, and miscellaneous storage items
Hazardous materials are different. Paint, chemicals, propane tanks, automotive fluids, batteries, and similar materials should not be mixed into a standard junk load. Check local disposal requirements or contact the appropriate collection program before moving those items.
Clean in the Order That Makes Sense
Once the property is empty, clean from top to bottom and from the back of the unit toward the exit. Dust and debris fall downward, so starting with ceilings, vents, shelves, and upper cabinets prevents you from having to re-clean the floors.
In the kitchen, remove all food and wipe down the refrigerator, oven, stovetop, counters, sink, cabinets, and drawers. Pull out appliances only if it is safe to do so and the lease allows it. Crumbs, grease, and forgotten food behind the refrigerator are common reasons a move-out cleaning feels unfinished.
Bathrooms need close attention because soap residue and mildew build up quickly. Clean the toilet, shower, tub, sink, mirror, fixtures, fan cover, and inside of vanity cabinets. Do not overlook hair in drains, dust behind the toilet, or residue around the base of faucets.
For floors, vacuum first, then mop hard surfaces. Treat carpet stains as soon as possible. Some leases require professional carpet cleaning, especially if there are pets, smoke odors, or visible staining. If that is the case, keep the invoice. A quick rental machine may be enough for light traffic, but deep stains and strong odors may require a professional service.
Handle Repairs Without Creating Bigger Problems
A move-out cleanup is not the time for risky DIY repairs. Small jobs such as replacing burned-out light bulbs, removing adhesive hooks carefully, tightening a loose cabinet knob, and patching tiny nail holes may be reasonable. Bigger repairs can backfire if the color does not match, the materials are wrong, or the work causes additional damage.
Normal wear usually includes minor scuffs, faded paint, and light carpet traffic from everyday use. Damage may include large wall holes, broken doors, pet stains, unauthorized paint colors, or missing fixtures. The exact standard depends on the lease and California rental rules, so avoid guessing if the issue could affect a deposit.
Landlords should also think about turnover speed. A unit can sit vacant longer when maintenance, cleaning, and junk removal are handled one at a time. Scheduling removal early clears access for cleaners, painters, flooring crews, and repair contractors.
Do a Final Tenant Move Out Cleanup Walkthrough
The final walkthrough should happen after the unit is empty and clean, not while boxes are still stacked in the hallway. Bring the lease, your original move-in photos if you have them, cleaning supplies, a trash bag, and a phone charger for photos.
Open every cabinet, drawer, closet, and exterior storage area. Check behind doors, under sinks, inside the oven, and around the washer and dryer connections. Look at the balcony, patio, yard, and dumpster enclosure too. These are easy places to leave a bag, a broken chair, or a piece of equipment that can become someone else’s problem.
Test lights, flush toilets, run faucets briefly, and make sure smoke detectors have not been removed. Collect all keys, garage remotes, gate fobs, parking passes, and mailbox keys. Return them exactly as the landlord or property manager requests.
A strong last check covers five things: no belongings remain, trash is removed, surfaces are cleaned, damage is documented, and all access items are returned. That is the difference between a rushed exit and a move-out that is ready for inspection.
When Fast Junk Removal Is Worth It
Doing everything yourself can save money when the rental is lightly furnished, you have time, and the debris fits into your regular disposal plan. It becomes less practical when there are stairs, oversized furniture, multiple rooms of junk, a tight move-out deadline, or a property manager waiting to turn the unit.
For landlords, contractors, and property managers, hauling help is often about protecting the schedule. One abandoned couch or garage full of debris can delay cleaners, repairs, showings, and the next lease. For renters, it can mean avoiding last-minute curb piles and the physical strain of trying to move a mattress or appliance alone.
A clean, empty rental gives everyone a better starting point. Clear the unwanted items early, leave enough time for detailed cleaning, and save your final hour for the walkthrough instead of wrestling with junk at the curb.