A rental refresh can turn into a pile of torn carpet, old blinds, broken tile, and empty paint cans faster than expected. This rental renovation waste guide helps renters, landlords, and property managers clear the mess the right way without risking a deposit, delaying the next tenant, or leaving heavy debris at the curb.
Start With Your Lease and the Scope of Work
Before pulling up flooring or removing a cabinet, confirm what you are actually allowed to change. Some leases permit cosmetic updates such as removable shelving, paint with written approval, or replacing basic fixtures. Others require the unit to be restored to its original condition before move-out.
Take before photos, save receipts, and get approval in writing when the work goes beyond a small repair. This matters because waste removal and property damage are separate issues. Hauling away an old vanity does not solve the problem if the landlord never approved its removal.
For landlords and property managers, set clear expectations before a tenant starts work. Let them know which materials they can leave for pickup, where debris can be staged, and whether a licensed contractor is required for any portion of the job. A clear plan prevents a last-minute cleanout from becoming a dispute.
Rental Renovation Waste Guide: Sort Before You Haul
Renovation debris is easier and less expensive to remove when it is separated into manageable groups. You do not need a perfect recycling operation in your driveway, but you do need to know what is ordinary junk, what can be donated or recycled, and what needs a specialized disposal route.
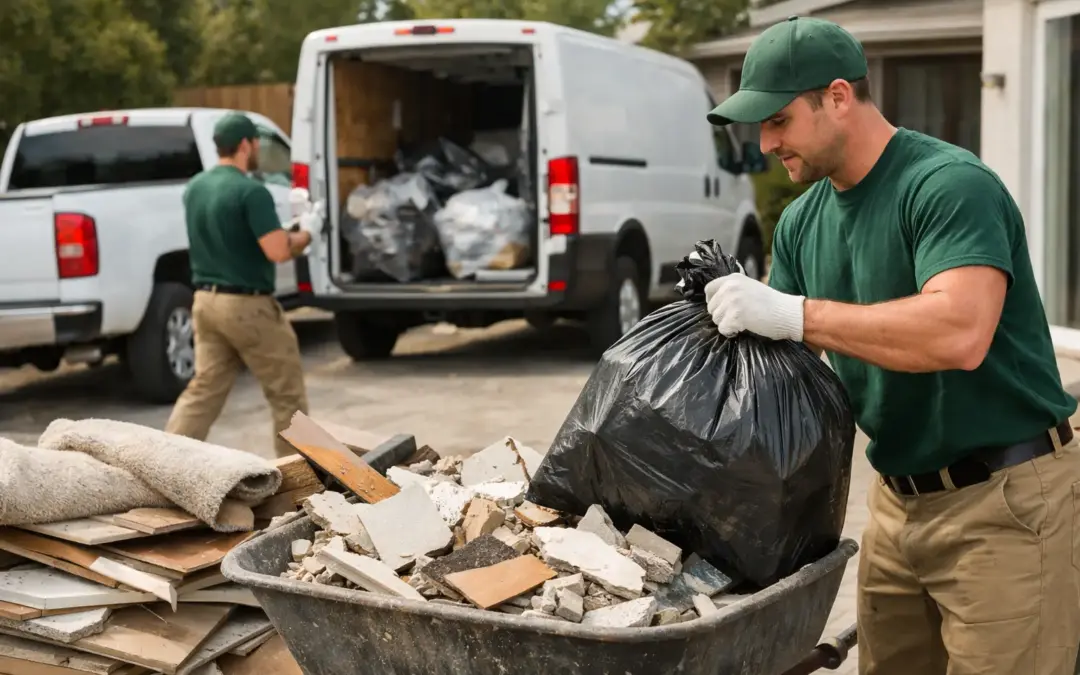
Common non-hazardous materials from rental updates include drywall scraps, lumber, baseboards, doors, cabinets, carpeting, padding, blinds, shelves, old fixtures, packaging, and small amounts of tile or concrete. Furniture removed to make room for the renovation may also be hauled at the same time.
Keep these materials apart from your general pile whenever possible:
- Paint, solvents, stains, pesticides, fuels, batteries, fluorescent bulbs, and other household chemicals
- Asbestos-containing materials, which may be present in older flooring, insulation, ceiling texture, or pipe wrap
- Large quantities of dirt, rock, concrete, brick, or roofing materials
- Appliances, electronics, and items that may contain refrigerant or require separate handling
- Sharps, medical waste, and anything that could create a safety hazard for a hauling crew
Do not guess about questionable materials, especially in an older Sacramento-area rental. If a ceiling texture, floor tile, adhesive, or insulation may contain asbestos, stop work and contact a qualified professional. Breaking up suspect material can create a much bigger problem than a slow renovation schedule.
Avoid the Most Common Move-Out Mistakes
The fastest way to lose time is to create a debris pile that nobody can safely remove. Loose nails, broken glass, exposed blades, and wet paint should never be tossed into open bags or mixed carelessly with household junk. Bag smaller light debris, bundle long pieces of wood, and place sharp items in a sturdy, clearly marked container.
Do not block stairwells, sidewalks, fire exits, parking spaces, or dumpster enclosures while you work. Multi-unit properties often have tight access and shared common areas. A pile left in the wrong place can bring complaints from neighbors, create a trip hazard, or prevent maintenance crews from doing their jobs.
Curbside collection is not a catch-all solution. Regular trash service generally will not take a major renovation pile, bulky materials, or loose construction debris. Leaving it at the curb without confirming local pickup rules can lead to a code issue or an unhappy property owner.
Also, do not assume the property dumpster is available for renovation waste. Apartment and commercial dumpsters are often sized and contracted for routine trash only. Filling one with cabinets, flooring, or drywall can leave no room for residents and may result in extra charges for the owner.
Choose the Right Removal Method
The best disposal option depends on the amount of waste, the type of material, access to the property, and how much labor you want to handle yourself.
A dumpster can make sense for a large renovation with steady debris over several days or weeks. It gives contractors a place to toss materials as they work. The trade-off is that you need room for the container, permission from the property owner, and sometimes approval to place it on a street. You also do the loading yourself and may face weight limits or restrictions on what goes inside.
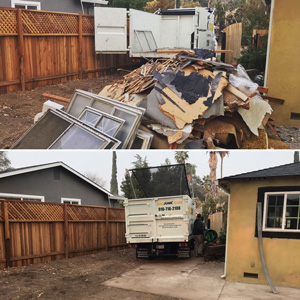
A full-service junk removal crew is often the easier choice for a smaller rental update, a fast turnover, or a cleanup where debris is already piled up. The crew handles the lifting, loading, hauling, and final sweep-up. This is especially useful for upstairs units, narrow side yards, properties with limited parking, and situations where a tenant or manager needs the space cleared quickly.
If the project produces just a few bags and a small item or two, regular trash service may be enough if your provider accepts it. Check first. Overloading bins or forcing bulky debris into them can create pickup problems and damage containers.
Make Pickup Faster and More Affordable
A little preparation helps a removal crew work safely and gives you a clearer on-site quote. Consolidate debris in one accessible area when possible. A garage, driveway, carport, side yard, or ground-floor room is usually easier than a scattered pile across several rooms.
Keep usable items separate from true debris. A clean dresser, working appliance, reusable shelving, or unopened building supplies may have a chance of donation or recycling, while damaged materials can go directly into the removal load. Sac Junk works to donate and recycle as much as possible from eligible non-hazardous loads, helping keep reusable materials out of the landfill.
Be honest about what is in the pile. Tell the crew about heavy materials, broken glass, stairs, gated access, parking limits, or items located in a backyard or second-floor unit. That information helps prevent delays and lets the job start with the right plan.
For property managers, schedule the cleanup after contractors have completed their final work but before cleaners arrive. There is no reason to pay for a detailed cleaning while drywall dust, discarded fixtures, and packaging are still on site. A cleared unit gives cleaners room to work and makes the final inspection easier.
Protect the Deposit and the Next Tenant
Waste removal is part of a clean move-out, not the whole move-out. Once the debris is gone, inspect the unit for repair needs hidden behind the pile: nail holes, wall damage, missing hardware, unpatched flooring, paint mismatches, and leftover adhesive are common examples.
Renters should document the condition after cleanup with dated photos. Landlords and managers should do the same before charging for repairs or scheduling the next tenant. Good documentation keeps the conversation focused on facts instead of memories.
If you are turning over a rental in Sacramento, Elk Grove, Rancho Cordova, or nearby communities, do not let renovation debris sit until the final day. Clear it while you still have access, time to inspect the work, and room to fix what needs fixing. A clean, empty space is easier to repair, easier to show, and much easier to hand off with confidence.