A damaged shed can turn into a bigger problem fast. Loose roofing, rotted lumber, bent metal, broken doors, and scattered debris take up yard space and create safety hazards for kids, pets, tenants, and anyone trying to mow or work nearby. If you need to remove broken shed materials, the right plan depends on the shed’s condition, the type of debris, and whether you want to do the demolition yourself or have a crew handle the entire job.
For Sacramento-area property owners, the goal is simple: clear the mess without risking an injury, damaging the property, or spending multiple weekends making landfill runs.
Know What You Are Removing Before You Start
“Broken shed materials” can mean anything from a pile of old fence boards to the remains of a collapsed backyard structure. Start by looking at the shed from a safe distance. If the roof is sagging, the walls are leaning, or heavy panels are hanging loose, do not start pulling materials apart on your own. Unstable structures can shift without warning.
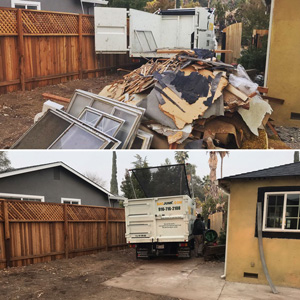
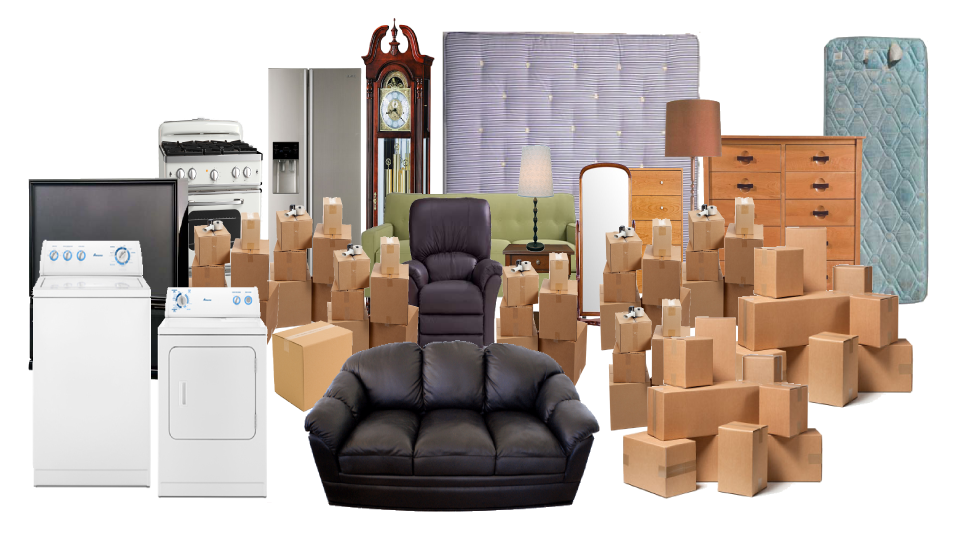
Most standard shed debris is non-hazardous and can be hauled away, including wood framing, plywood, particleboard, corrugated metal, plastic panels, doors, shelving, shingles, hardware, and small amounts of concrete or brick. Old tools, lawn equipment, storage bins, and furniture found inside the shed may be removed at the same time if they are no longer wanted.
Some materials need separate handling. Paint, fuel, motor oil, pesticides, propane tanks, batteries, and other chemicals should not be tossed into a general junk pile. The same goes for suspected asbestos-containing materials, which may be found in certain older roofing, siding, flooring, or insulation products. If you are unsure what a material is, leave it in place until it can be identified.
Safety Comes First When Removing Shed Debris
The biggest mistake people make is treating a damaged shed like ordinary yard cleanup. A few loose boards may be easy to carry, but demolition debris often hides nails, broken glass, sharp metal edges, insect nests, mold, and unstable sections of wall or roof.
Wear work gloves, closed-toe boots with thick soles, long pants, and eye protection. A dust mask is a good idea when handling dry, deteriorated wood, old insulation, or dusty storage items. Keep children and pets away from the work area until cleanup is complete.
Before taking anything apart, disconnect power to the shed if it has electricity. Do not cut, pull, or remove materials around exposed wiring. If there is plumbing, a gas line, or a connected electrical circuit, bring in the appropriate professional before demolition begins.
It also helps to work from the outside in. Clear loose debris around the shed first so you have stable footing and an open path for carrying materials out. Avoid standing under a compromised roof, and never try to catch or brace a falling wall panel by yourself.
How to Remove Broken Shed Materials in the Right Order
A clean removal job is easier when materials are separated as you go. You do not need to create perfect recycling piles in your driveway, but basic sorting can make loading safer and disposal more responsible.
Start by taking out loose contents from inside the shed. Set aside items you plan to keep, then separate obvious trash, reusable belongings, scrap metal, and yard waste. Once the shed is empty, remove lightweight pieces such as detached doors, window frames, shelving, and loose roof panels.
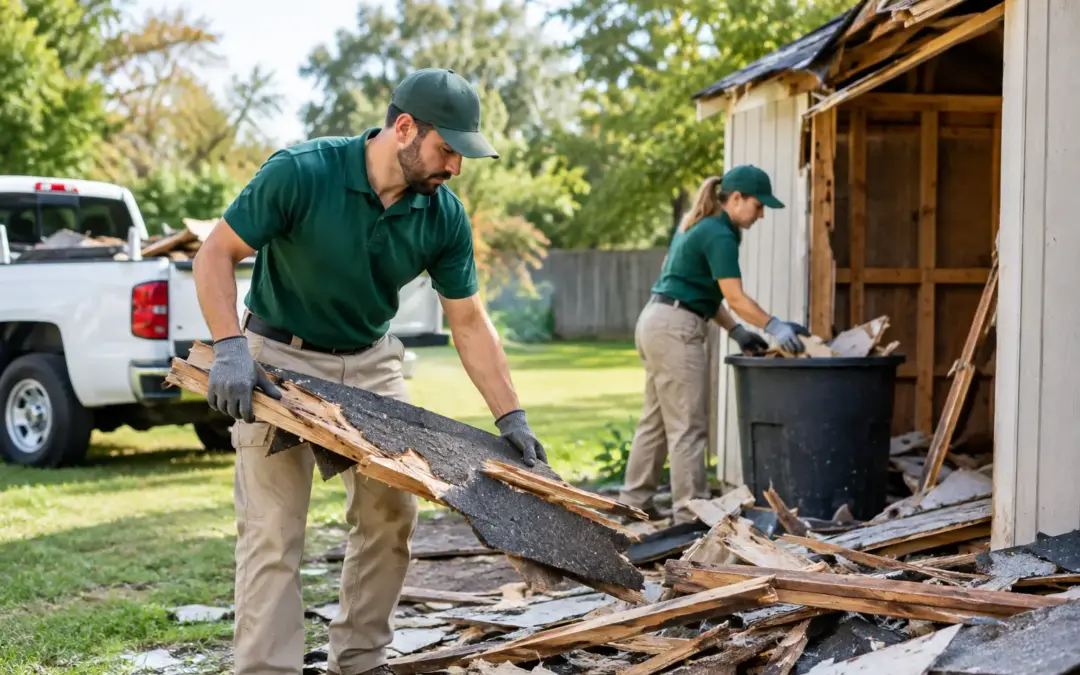
After that, focus on wall panels and framing. Long lumber should be stacked flat with nails facing down whenever possible. Pulling every nail is not always practical, especially with rotted boards, but bend over exposed nails that could puncture a tire or injure someone during loading. Keep metal pieces separate from wood if you can. Metal siding, shelving, brackets, and tools may be recyclable.
Roofing deserves extra care. Old shingles are heavy, messy, and often packed with sharp edges. Small amounts can be bagged or stacked in manageable piles, but do not create one oversized pile that cannot be lifted safely. Wet lumber, shingles, and concrete can weigh far more than expected.
Prepare the Area for Fast Hauling
A little preparation helps a junk removal crew work faster and keeps the job from becoming more expensive than it needs to be. Create a clear path from the shed to the driveway, alley, gate, or street where the truck can park. Move vehicles, patio furniture, planters, and other obstacles out of the way.
If you have already taken down the shed, stack materials in one accessible area rather than leaving debris spread across the yard. Keep sharp objects, nails, broken glass, and metal edges contained in sturdy bins, buckets, or clearly marked piles. Do not put loose nails in plastic trash bags, since they can tear through during lifting.
You do not have to bag every piece of debris. In fact, bulky materials like panels, framing, doors, and shelving are usually easier for a removal crew to load as-is. The main priority is access and safety. If the shed is behind a narrow gate, on a sloped lot, or near landscaping you want protected, mention that before the appointment.
When Full-Service Shed Debris Removal Makes Sense
Doing your own teardown can save money when the shed is small, stable, and already mostly empty. It may be a reasonable weekend project if you have the right tools, a truck, time for multiple disposal trips, and no concerns about heavy lifting.
But full-service removal is usually the better call when the shed has collapsed, contains years of stored junk, has heavy roofing or flooring, or sits in a difficult part of the yard. Landlords and property managers also benefit from having one crew handle the labor, loading, hauling, and final sweep-up instead of coordinating maintenance staff and disposal runs.
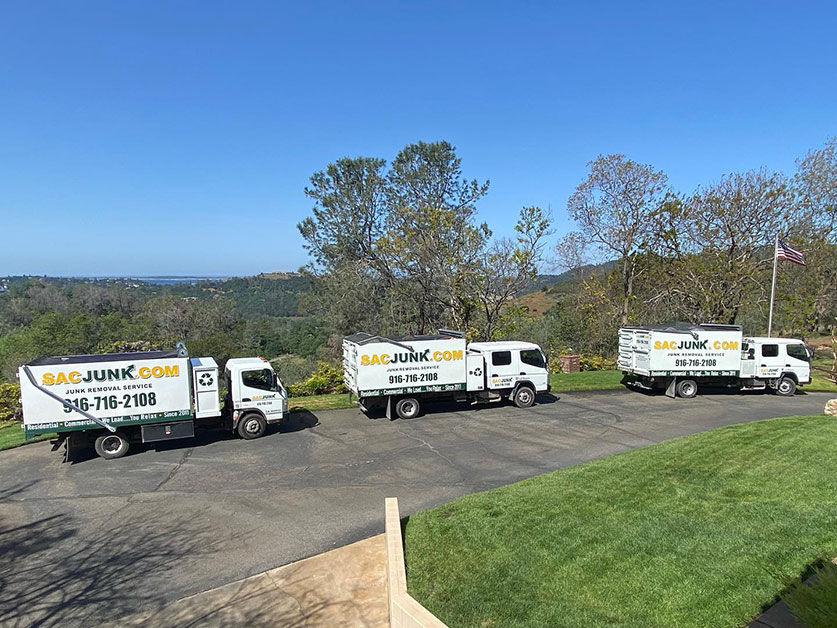
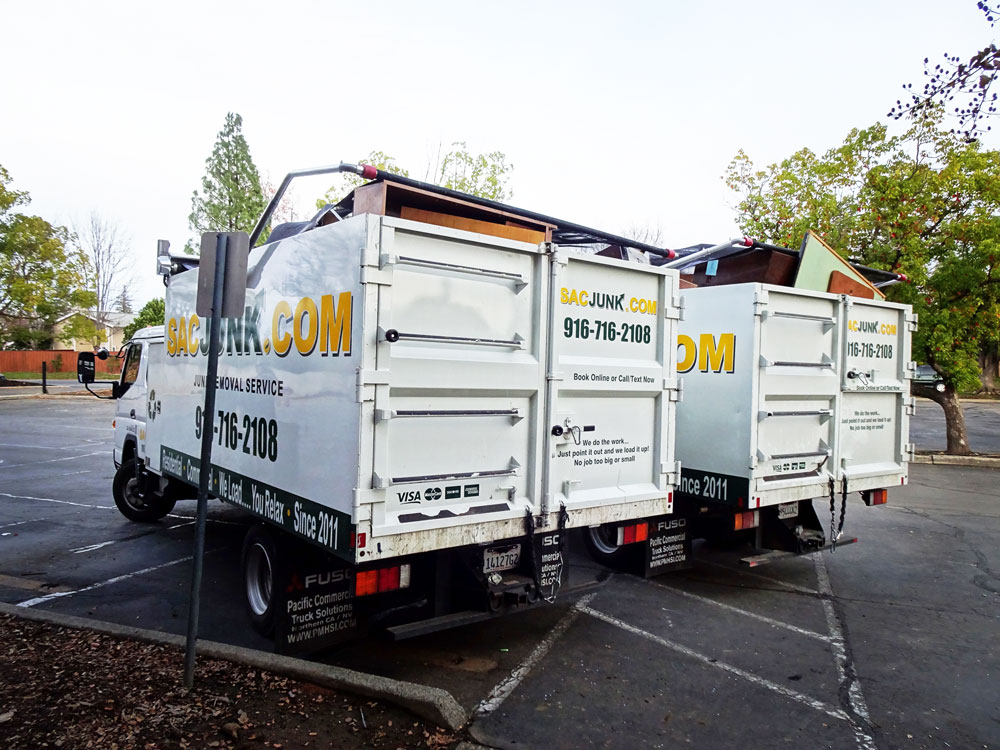
Sac Junk can remove non-hazardous shed debris, unwanted contents, and related yard clutter in one visit. The crew does the lifting and loading, then hauls the materials away after you approve the on-site quote. That means no renting a dumpster, no recruiting friends to move heavy panels, and no guessing whether everything will fit in a pickup bed.
This option is especially useful after storm damage, tenant move-outs, estate cleanouts, or a backyard renovation. If you are replacing an old shed with a new workshop, storage unit, or open yard space, getting the old materials cleared quickly keeps the project moving.
What Affects Shed Material Removal Pricing?
Junk removal pricing is commonly based on how much space the materials take up in the truck, plus the labor involved. A small pile of broken panels and lumber costs less to remove than a full collapsed shed mixed with old furniture, tools, roofing, and dense construction debris.
Access matters too. Materials located beside the driveway are easier to load than debris that must be carried through a house, down stairs, across a large backyard, or through a tight side gate. Heavy items such as concrete, roofing shingles, soaked lumber, and large steel components may also affect the job because of their weight and disposal requirements.
The best way to avoid surprises is to show the full scope of the project before work begins. Point out any piles behind the shed, materials inside it, and items you want to keep. A clear on-site quote lets you decide before the crew starts loading.
Do Not Leave the Cleanup Half Finished
Once the large shed pieces are gone, take a final walk around the area. Look for nails, screws, staples, shards of plastic, small metal brackets, and bits of broken roofing. A magnetic nail sweeper is useful on soil, gravel, and driveways, while a rake can help bring smaller wood fragments into one pile.
Check the ground where the shed sat. If moisture caused the damage, you may need to address drainage, low spots, tree overgrowth, or irrigation leaks before putting a new structure in the same location. If you are not rebuilding, leveling the area and removing old base material can make the yard safer and easier to use.
A broken shed does not need to sit in the yard for months because the cleanup feels too big. Clear a safe path, separate anything hazardous or worth keeping, and get the heavy debris handled before it creates another problem.