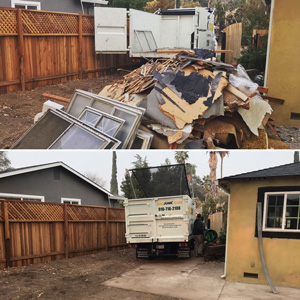
A garage renovation can look finished long before the cleanup is. Old cabinets, drywall scraps, busted shelving, flooring, packaging, and dusty lumber quickly take over the driveway or the one side of the garage you hoped to keep clear. To remove garage renovation debris without turning a weekend project into several dump runs, start with a plan for sorting, staging, and hauling the material out safely.
For many Sacramento homeowners, the hard part is not identifying what needs to go. It is finding the time, vehicle space, and physical help to load bulky debris, then figuring out which materials can go to a landfill, recycling facility, or donation center. A full-service junk removal crew can handle the lifting and loading, but a little prep helps the job move faster and keeps costs clear.
Start by Separating What Is Actually Debris
Renovation leftovers often end up in one large pile, but not every item belongs in the same disposal stream. Before anyone starts loading, separate usable items from broken materials and keep questionable items aside until you know how they should be handled.
Usable garage cabinets, workbenches, shelving units, unopened boxes of tile, surplus lumber, and working tools may be worth donating or saving for another project. Clean cardboard, metal shelving, scrap metal, and certain appliances may be recyclable. The true debris pile usually includes damaged drywall, worn flooring, broken cabinets, construction packaging, trim pieces, old doors, carpet padding, and general cleanup waste.
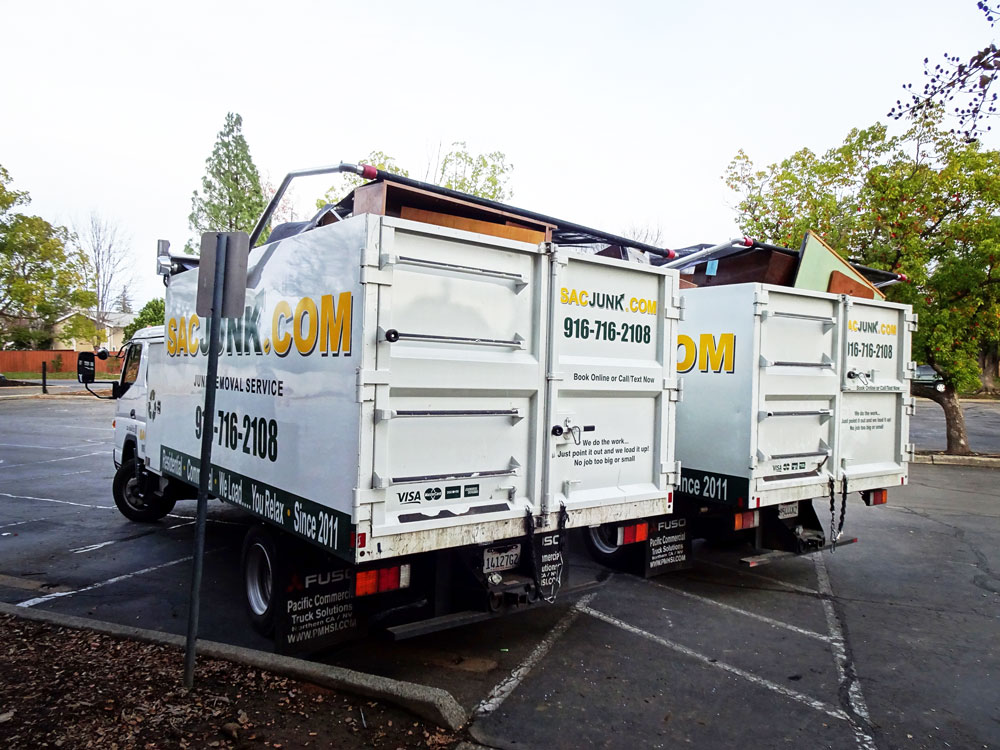
Sorting is not about making the job complicated. It helps prevent good materials from being buried under trash, makes hauling more efficient, and supports responsible disposal. Sac Junk works to donate and recycle as much as possible from each non-hazardous load, rather than treating every item like landfill waste.
Make a Safe Staging Area Before Removal
Do not stack everything against the garage door and hope for the best. A poorly placed debris pile can block your exit, scratch a vehicle, create a tripping hazard, or make it difficult for a crew to assess the load.
Choose a dry, accessible spot near the driveway when possible. Keep a clear path from the garage to the pickup area, especially if heavy cabinets, water heaters, appliances, or sheet goods need to come out. Place sharp items such as broken tile, glass, nails, and metal trim in sturdy containers or clearly marked boxes. If drywall or insulation is dusty, bag it or keep it contained so it does not blow across the property.
It also helps to keep a separate “not for removal” area. Put aside paint supplies you are keeping, installed tools, ladders, bikes, and anything that could be mistaken for debris. That small step avoids confusion when a crew is moving quickly.
Keep Weight and Size in Mind
Garage renovation debris gets heavy faster than most people expect. A few stacks of drywall, old plywood, concrete fragments, and cabinetry can overload a pickup truck well before the garage looks clear. Long materials can also be difficult to secure safely, and loose debris can shift during transport.
If you are doing the hauling yourself, never exceed your vehicle’s payload rating or rely on a loose tarp to hold down an unstable load. Multiple trips may seem cheaper at first, but fuel, disposal fees, time off work, and the risk of injury can change the math quickly. For a large cleanout, labor-inclusive hauling is often the more practical option.
Know What a Junk Hauling Crew Can Take
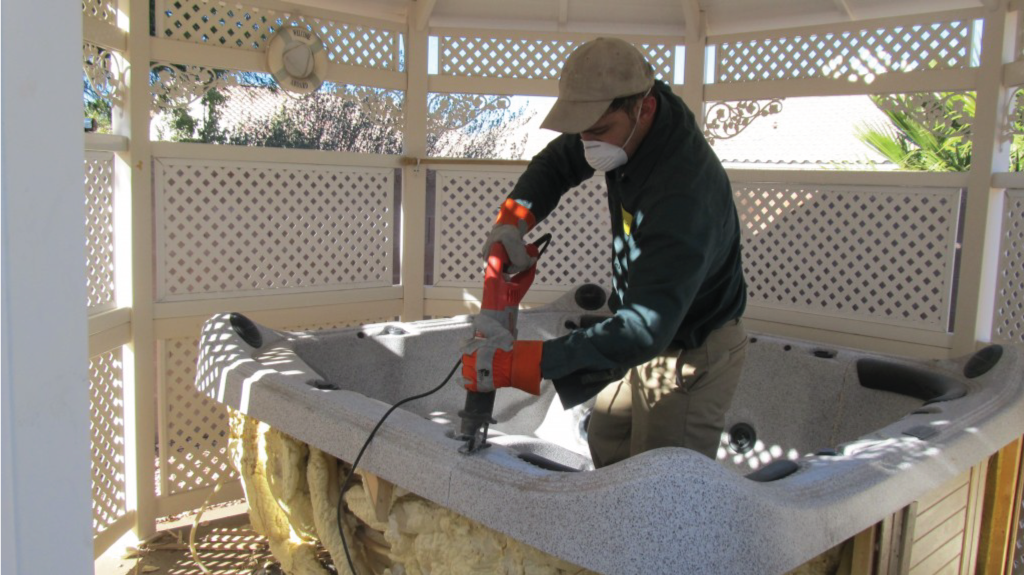
A professional junk removal service is a good fit for most non-hazardous garage renovation waste. That can include old cabinets and countertops, wood, drywall, flooring, carpet, doors, shelving, appliances, fixtures, boxes, bagged debris, and unwanted furniture that no longer belongs in the renovated space.
There are limits. Materials that are hazardous, flammable, pressurized, or regulated need specialized disposal. Do not mix items such as wet paint, solvents, motor oil, gasoline, pesticides, propane tanks, batteries, asbestos-containing materials, or unknown chemicals into a standard junk pile. These items need to go through the proper local disposal channel.
Concrete, dirt, brick, and roofing debris may also require separate handling because of their weight. Tell the hauling company about these materials when you book. Clear information allows the crew to arrive prepared and gives you a more accurate quote.
Watch for Older Materials in Pre-1978 Garages
If your garage is older and the renovation involved peeling paint, damaged insulation, old flooring, or wall material, slow down before bagging everything up. Some older materials may contain lead-based paint or asbestos. A regular junk removal crew should not disturb or haul suspected hazardous material as ordinary debris.
When there is any doubt, have the material assessed by a qualified professional. Once hazardous material has been properly addressed, the remaining renovation waste can be removed safely and efficiently.
Decide Between DIY Dump Runs and Full-Service Removal
A DIY approach makes sense for a few light bags, a small bundle of cardboard, or a pickup-bed-sized load that you can safely transport. It may also work if you already have the right vehicle, know the local facility rules, and have help for lifting.
Full-service removal is usually the better choice when the job includes heavy, awkward, or mixed debris. Think of a garage with torn-out cabinets, water-damaged shelving, old appliances, stacks of flooring, and a driveway full of boxes. Instead of borrowing a truck, loading it, unloading it at multiple locations, and cleaning up afterward, you can have the pile removed in one appointment.
With Sac Junk, pricing is based on how much space your items take up in the truck, and the crew provides a quote on-site before work begins. Labor, loading, hauling, and basic site cleanup are included. You approve the price before anything is removed, so there is no need to guess what a pile of garage debris will cost from a photo alone.
How the Pickup Process Works
The easiest cleanup jobs are the ones where everyone knows what to expect. After you book by phone or online, the crew provides a courtesy call before arrival. Show the team everything you want removed, including items in the garage, driveway, side yard, or backyard that are part of the same project.
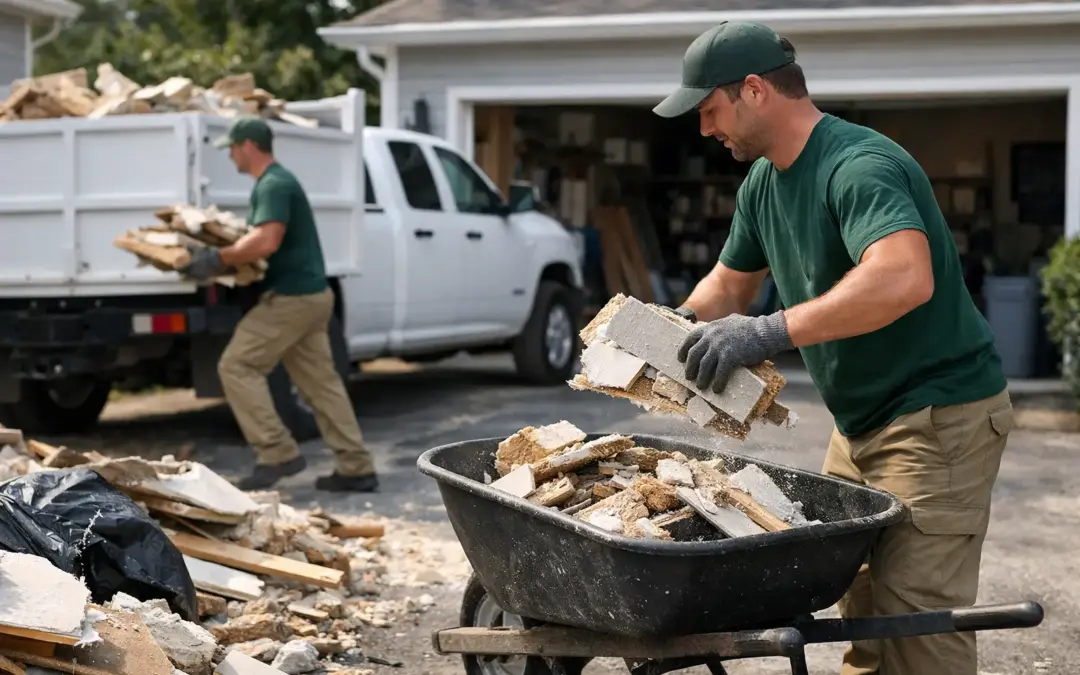
The crew assesses the volume, reviews the upfront quote, and gets to work after approval. You do not need to drag cabinets to the curb, break down shelving, or load debris into a trailer. The team handles the lifting and loading, then sweeps up the immediate area so you can start using the garage again.
For contractors, landlords, and property managers, this process is especially useful between tenants or at the end of a renovation. A fast pickup keeps materials from sitting at the property, reduces trip hazards, and helps prepare the space for inspection, painting, storage, or move-in.
Avoid the Cleanup Mistakes That Cost More Later
The biggest mistake is letting debris sit until it becomes part of the next project. Open bags get wet, cardboard spreads across the yard, and a temporary stack becomes a long-term garage obstacle. Book removal once demolition or installation is complete, even if you are still organizing the final items.
Another common problem is hiding dense materials inside large boxes or burying heavy debris under lighter trash. Be upfront about what is in the pile. Honest details help the crew plan the right equipment, loading approach, and disposal route.
Finally, do not feel obligated to keep every leftover material “just in case.” Save the small amount you know you will use for repairs. Donate usable surplus where appropriate. Let the rest go. A renovated garage is more useful when it has room for your car, tools, storage, or workspace instead of a pile of materials from the project that was supposed to improve it.
When the renovation is done, the cleanup should not be the part that stalls you. Get the debris out, keep the usable items where they belong, and enjoy the clear garage you worked to create.